> ## Documentation Index
> Fetch the complete documentation index at: https://docs.uselevers.com/llms.txt
> Use this file to discover all available pages before exploring further.
# Quickstart
> Start integrating with Levers in a few minutes
## Setup
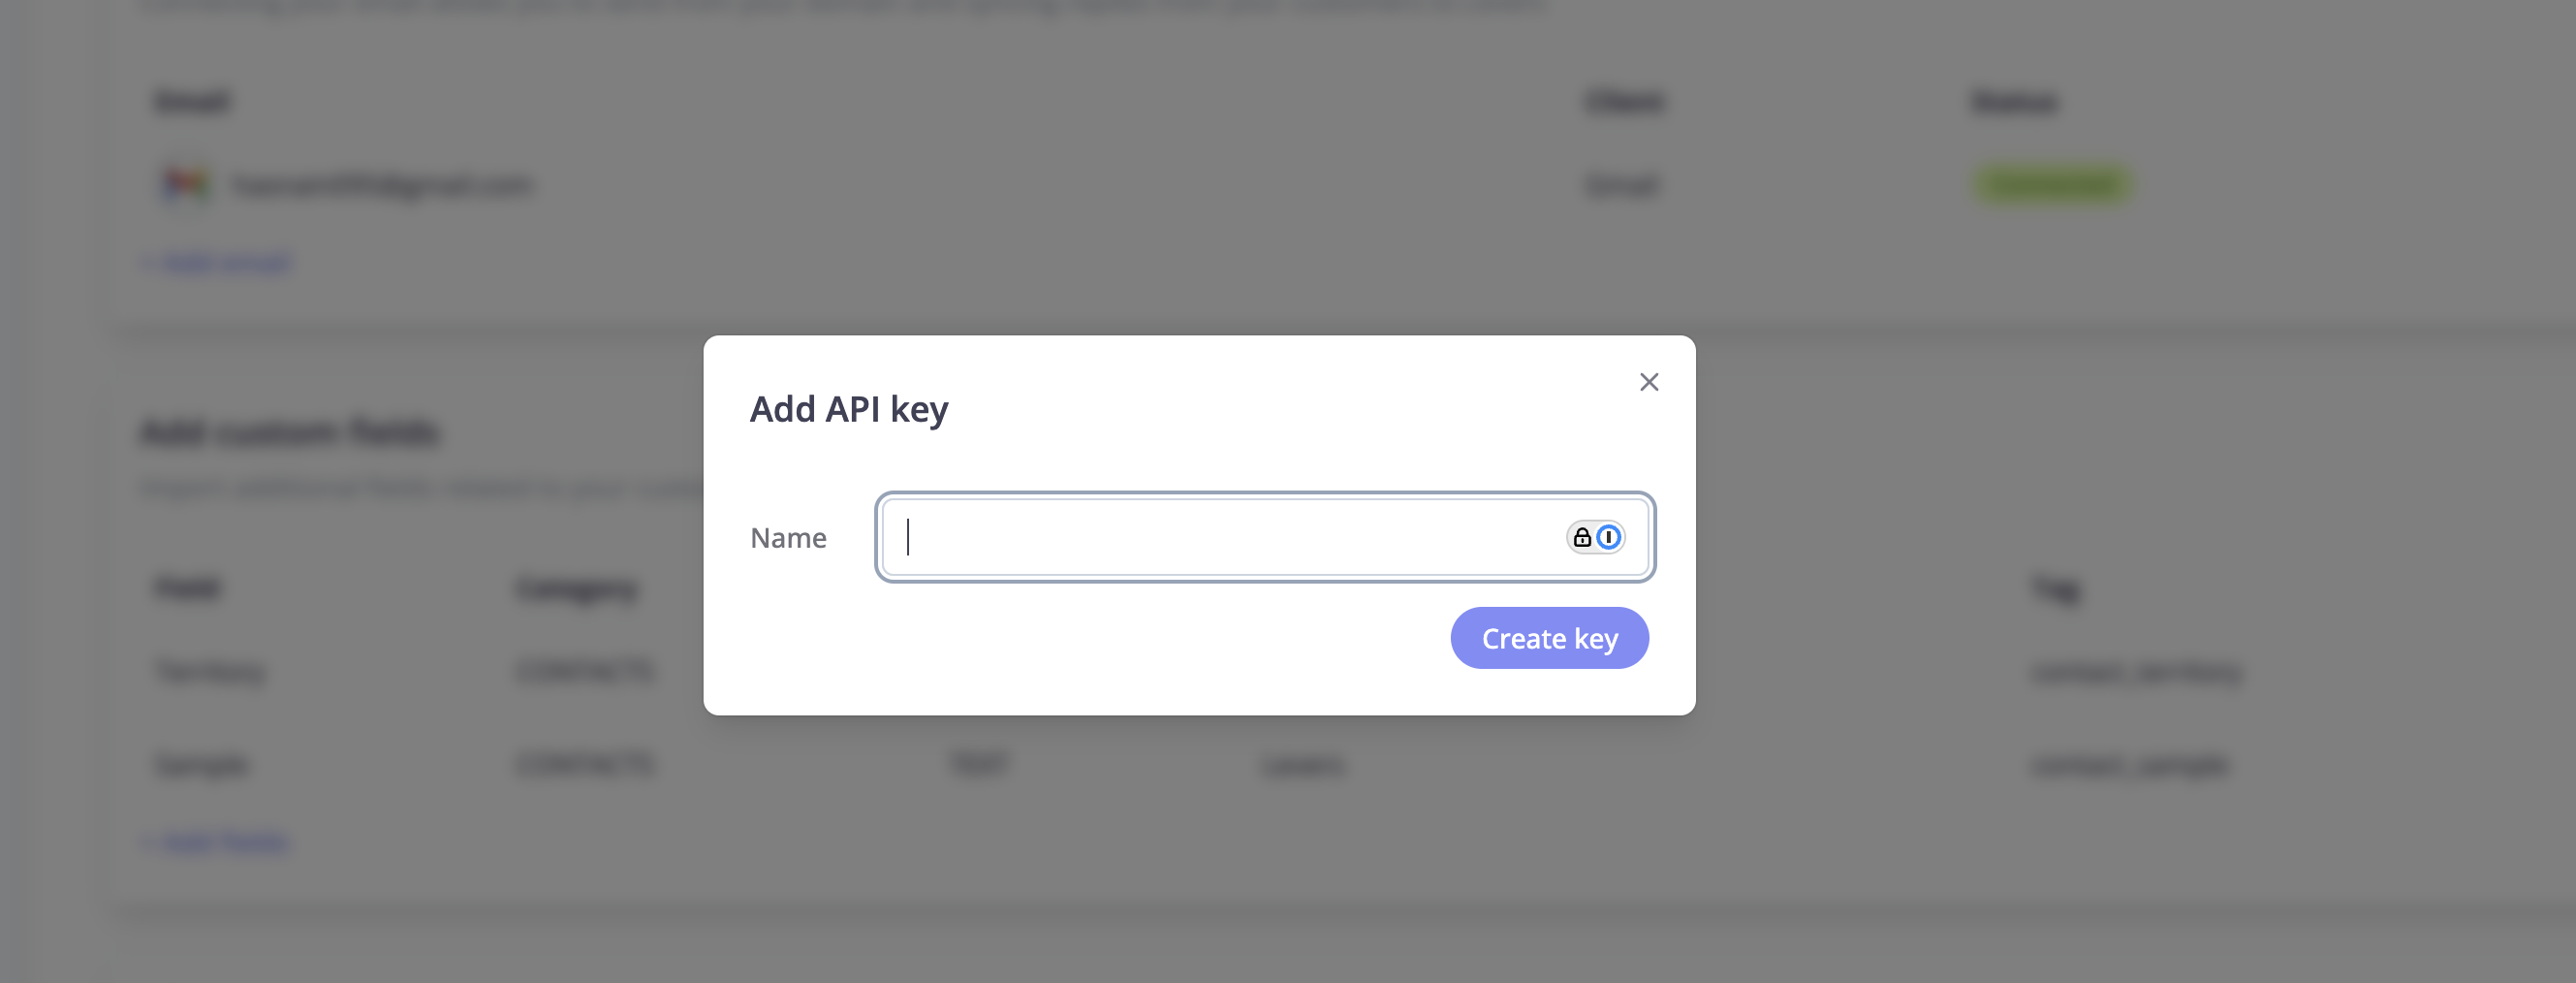
Navigate to the settings page in Levers app, and scroll to the API keys section. Click on Add API key.
 Enter the name of the key and click Create.
 Copy the client id and client secret and save it in a secure manner.
  ***
## Integration
Learn how to authenticate your API requests using your client credentials.
Get started with sample code for making your first API call.
### API Authentication
To authenticate with the Levers API, you need to obtain a bearer token using your client credentials.
#### Step 1: Get Your Access Token
```bash theme={null}
curl -X POST https://api.dev.uselevers.com/auth/v1/api-key/auth \
-H "Content-Type: application/json" \
-d '{
"clientId": "YOUR_CLIENT_ID",
"clientSecret": "YOUR_CLIENT_SECRET"
}'
```
**Important Token Behavior:**
* **Dev environment:** Tokens are valid for 24 hours
* **Production:** Tokens are valid for 5 minutes
Issuing a new token will **invalidate all existing tokens** for the same client. Ensure your application handles re-authentication gracefully.
#### Step 2: Use the Access Token
Include the access token in the `Authorization` header for all subsequent API requests:
```bash theme={null}
Authorization: Bearer YOUR_ACCESS_TOKEN
```
### Quickstart Code
Install the following packages:
```bash theme={null}
pip install python-dotenv requests
```
Create a `.env` file in the root directory of your project and add the following variables:
```bash theme={null}
CLIENT_ID=
CLIENT_SECRET=
```
Create `main.py` in the root directory of your project and copy the following code into it:
```python theme={null}
import os
import requests
from dotenv import load_dotenv
# Load environment variables
load_dotenv()
def create_contact(access_token, contact_data):
url = "https://api.dev.uselevers.com/api-service/v1/contact"
headers = {
"Authorization": f"Bearer {access_token}",
"Content-Type": "application/json",
"User-Agent": "Lawazem v 1.0"
}
response = requests.post(url, json=contact_data, headers=headers)
if response.status_code == 200:
return response.json()
else:
return f"Error: {response.status_code}, {response.text}"
def authenticate_levers(api_client):
# API endpoint
url = "https://api.dev.uselevers.com/auth/v1/api-key/auth"
# Get credentials from environment variables
client_id = os.getenv("CLIENT_ID")
client_secret = os.getenv("CLIENT_SECRET")
# Prepare headers and payload
headers = {
"Content-Type": "application/json",
"User-Agent": "Lawazem v 1.0"
}
payload = {
"clientId": client_id,
"clientSecret": client_secret
}
# Make the POST request
response = api_client.post(url, json=payload, headers=headers)
# Check if request was successful
if response.status_code == 200:
return response.json()
else:
return f"Error: {response.status_code}, {response.text}"
if __name__ == "__main__":
api_client = requests.session()
result = authenticate_levers(api_client)
contact_data = {
"name": "Test Contact",
"firstName": "Test",
"lastName": "Contact",
"phoneNumber": "+96612341234",
"email": "test@example.com",
"remindersEnabled": True,
"role": "PRIMARY"
}
result = create_contact(result['access_token'], contact_data)
print(result)
```
Run the following command to execute the code:
```bash theme={null}
python main.py
```
You'll see the following output:
```bash theme={null}
{'name': 'Test Contact', 'nameAr': None, 'firstName': 'Test', 'firstNameAr': None, 'lastName': 'Contact', 'lastNameAr': None, 'phoneNumber': '+96612341234', 'vatNumber': None, 'email': 'test@example.com', 'building': None, 'buildingAr': None, 'street': None, 'streetAr': None, 'district': None, 'districtAr': None, 'city': None, 'cityAr': None, 'country': None, 'countryAr': None, 'postalCode': None, 'additionalNumber': None, 'otherId': None, 'bankName': None, 'bankContactName': None, 'iban': None, 'accountNumber': None, 'emailTone': None, 'sendEmailNotif': None, 'sendEmailNotifLang': None, 'sendSmsNotif': None, 'sendSmsNotifLang': None, 'remindersEnabled': True, 'extPlatformId': None, 'extCompanyId': None, 'hasErrors': False, 'errorDetail': None, 'uuid': '9bfa828a-3c2d-430c-bdc7-f74d90334524', 'totalAmount': None, 'totalPaid': None, 'outstandingAmount': None, 'totalInvoices': None, 'countUnpaidInvoices': None, 'risk': None, 'role': 'PRIMARY', 'secondaryContacts': None, 'paymentInstructions': None, 'workflow': None, 'customFields': []}
```
***
## Integrating AI Phone Calls
Learn how to integrate AI-powered phone calls for automated collections and customer communication.
First, create a contact that will receive the AI phone call.
```bash theme={null}
curl -X POST https://api.dev.uselevers.com/api-service/v1/contact \
-H "Authorization: Bearer YOUR_ACCESS_TOKEN" \
-H "Content-Type: application/json" \
-d '{
"name": "John Doe",
"firstName": "John",
"lastName": "Doe",
"phoneNumber": "+96612341234",
"email": "john@example.com",
"remindersEnabled": true,
"role": "PRIMARY"
}'
```
For more details, see the [Create Contact API reference](/api-reference/contact/create-contact).
Retrieve your contacts to get the contact UUID for the AI phone call.
```bash theme={null}
curl -X GET "https://api.dev.uselevers.com/api-service/v1/contact?page=1&size=10" \
-H "Authorization: Bearer YOUR_ACCESS_TOKEN"
```
For more details, see the [Get Contacts API reference](/api-reference/contact/get-contacts).
Use the contact UUID to initiate an AI-powered phone call.
```bash theme={null}
curl -X POST https://api.dev.uselevers.com/api-service/v1/ai/phone-calls/action/call \
-H "Authorization: Bearer YOUR_ACCESS_TOKEN" \
-H "Content-Type: application/json" \
-d '{
"contactUuid": "9bfa828a-3c2d-430c-bdc7-f74d90334524"
}'
```
For more details, see the [Call Contact API reference](/api-reference/ai-features/call-contact).
***
## Integration
Learn how to authenticate your API requests using your client credentials.
Get started with sample code for making your first API call.
### API Authentication
To authenticate with the Levers API, you need to obtain a bearer token using your client credentials.
#### Step 1: Get Your Access Token
```bash theme={null}
curl -X POST https://api.dev.uselevers.com/auth/v1/api-key/auth \
-H "Content-Type: application/json" \
-d '{
"clientId": "YOUR_CLIENT_ID",
"clientSecret": "YOUR_CLIENT_SECRET"
}'
```
**Important Token Behavior:**
* **Dev environment:** Tokens are valid for 24 hours
* **Production:** Tokens are valid for 5 minutes
Issuing a new token will **invalidate all existing tokens** for the same client. Ensure your application handles re-authentication gracefully.
#### Step 2: Use the Access Token
Include the access token in the `Authorization` header for all subsequent API requests:
```bash theme={null}
Authorization: Bearer YOUR_ACCESS_TOKEN
```
### Quickstart Code
Install the following packages:
```bash theme={null}
pip install python-dotenv requests
```
Create a `.env` file in the root directory of your project and add the following variables:
```bash theme={null}
CLIENT_ID=
CLIENT_SECRET=
```
Create `main.py` in the root directory of your project and copy the following code into it:
```python theme={null}
import os
import requests
from dotenv import load_dotenv
# Load environment variables
load_dotenv()
def create_contact(access_token, contact_data):
url = "https://api.dev.uselevers.com/api-service/v1/contact"
headers = {
"Authorization": f"Bearer {access_token}",
"Content-Type": "application/json",
"User-Agent": "Lawazem v 1.0"
}
response = requests.post(url, json=contact_data, headers=headers)
if response.status_code == 200:
return response.json()
else:
return f"Error: {response.status_code}, {response.text}"
def authenticate_levers(api_client):
# API endpoint
url = "https://api.dev.uselevers.com/auth/v1/api-key/auth"
# Get credentials from environment variables
client_id = os.getenv("CLIENT_ID")
client_secret = os.getenv("CLIENT_SECRET")
# Prepare headers and payload
headers = {
"Content-Type": "application/json",
"User-Agent": "Lawazem v 1.0"
}
payload = {
"clientId": client_id,
"clientSecret": client_secret
}
# Make the POST request
response = api_client.post(url, json=payload, headers=headers)
# Check if request was successful
if response.status_code == 200:
return response.json()
else:
return f"Error: {response.status_code}, {response.text}"
if __name__ == "__main__":
api_client = requests.session()
result = authenticate_levers(api_client)
contact_data = {
"name": "Test Contact",
"firstName": "Test",
"lastName": "Contact",
"phoneNumber": "+96612341234",
"email": "test@example.com",
"remindersEnabled": True,
"role": "PRIMARY"
}
result = create_contact(result['access_token'], contact_data)
print(result)
```
Run the following command to execute the code:
```bash theme={null}
python main.py
```
You'll see the following output:
```bash theme={null}
{'name': 'Test Contact', 'nameAr': None, 'firstName': 'Test', 'firstNameAr': None, 'lastName': 'Contact', 'lastNameAr': None, 'phoneNumber': '+96612341234', 'vatNumber': None, 'email': 'test@example.com', 'building': None, 'buildingAr': None, 'street': None, 'streetAr': None, 'district': None, 'districtAr': None, 'city': None, 'cityAr': None, 'country': None, 'countryAr': None, 'postalCode': None, 'additionalNumber': None, 'otherId': None, 'bankName': None, 'bankContactName': None, 'iban': None, 'accountNumber': None, 'emailTone': None, 'sendEmailNotif': None, 'sendEmailNotifLang': None, 'sendSmsNotif': None, 'sendSmsNotifLang': None, 'remindersEnabled': True, 'extPlatformId': None, 'extCompanyId': None, 'hasErrors': False, 'errorDetail': None, 'uuid': '9bfa828a-3c2d-430c-bdc7-f74d90334524', 'totalAmount': None, 'totalPaid': None, 'outstandingAmount': None, 'totalInvoices': None, 'countUnpaidInvoices': None, 'risk': None, 'role': 'PRIMARY', 'secondaryContacts': None, 'paymentInstructions': None, 'workflow': None, 'customFields': []}
```
***
## Integrating AI Phone Calls
Learn how to integrate AI-powered phone calls for automated collections and customer communication.
First, create a contact that will receive the AI phone call.
```bash theme={null}
curl -X POST https://api.dev.uselevers.com/api-service/v1/contact \
-H "Authorization: Bearer YOUR_ACCESS_TOKEN" \
-H "Content-Type: application/json" \
-d '{
"name": "John Doe",
"firstName": "John",
"lastName": "Doe",
"phoneNumber": "+96612341234",
"email": "john@example.com",
"remindersEnabled": true,
"role": "PRIMARY"
}'
```
For more details, see the [Create Contact API reference](/api-reference/contact/create-contact).
Retrieve your contacts to get the contact UUID for the AI phone call.
```bash theme={null}
curl -X GET "https://api.dev.uselevers.com/api-service/v1/contact?page=1&size=10" \
-H "Authorization: Bearer YOUR_ACCESS_TOKEN"
```
For more details, see the [Get Contacts API reference](/api-reference/contact/get-contacts).
Use the contact UUID to initiate an AI-powered phone call.
```bash theme={null}
curl -X POST https://api.dev.uselevers.com/api-service/v1/ai/phone-calls/action/call \
-H "Authorization: Bearer YOUR_ACCESS_TOKEN" \
-H "Content-Type: application/json" \
-d '{
"contactUuid": "9bfa828a-3c2d-430c-bdc7-f74d90334524"
}'
```
For more details, see the [Call Contact API reference](/api-reference/ai-features/call-contact).